
Key Tips For Hiking The Overlord Trail

A few things worth knowing before you head out:
Bring layers, even on a clear day. You're up high, and the weather at Rendezvous Lodge can be completely different from what you find out on Overlord an hour later, wind picks up fast out on the open ridge sections, and it's noticeably colder anywhere near Decker Tarn or the glacier itself.
Time your gondola and chairlift rides around this hike, not the other way around. Once you factor in getting up to Rendezvous, connecting onto Overlord, the hike itself, and whichever return loop you choose, this can easily eat up most of a day. Keep an eye on the last lift down so you're not stuck figuring out how to get back to the village on foot.
Decide on your return loop before you get to Decker Tarn, not after. It's a lot easier to commit to Decker Loop or Lakeside Loop with fresh legs at the junction than to talk yourself into it after you're already sitting at the tarn deciding whether you've got it in you.
Bring a proper camera or make sure your phone is charged. Between the glacier views, the wildflowers, and Decker Tarn itself, you're going to want more than one photo, and cold alpine air is not kind to phone batteries.
Pack plenty of water and snacks. There's nowhere to refill or buy anything once you're out on the trail, so bring more than you think you'll need, especially if you're tacking on one of the longer loops.
Don't skip the wildflower window if you can help it. If you're planning your trip with any flexibility, aim for peak bloom, it genuinely changes the character of the hike.
Be mindful of the exposure on Decker Loop specifically. It looks manageable from a distance, but there are stretches with real drop-offs, this isn't the add-on to attempt if you're not comfortable with heights or if the weather's turning.
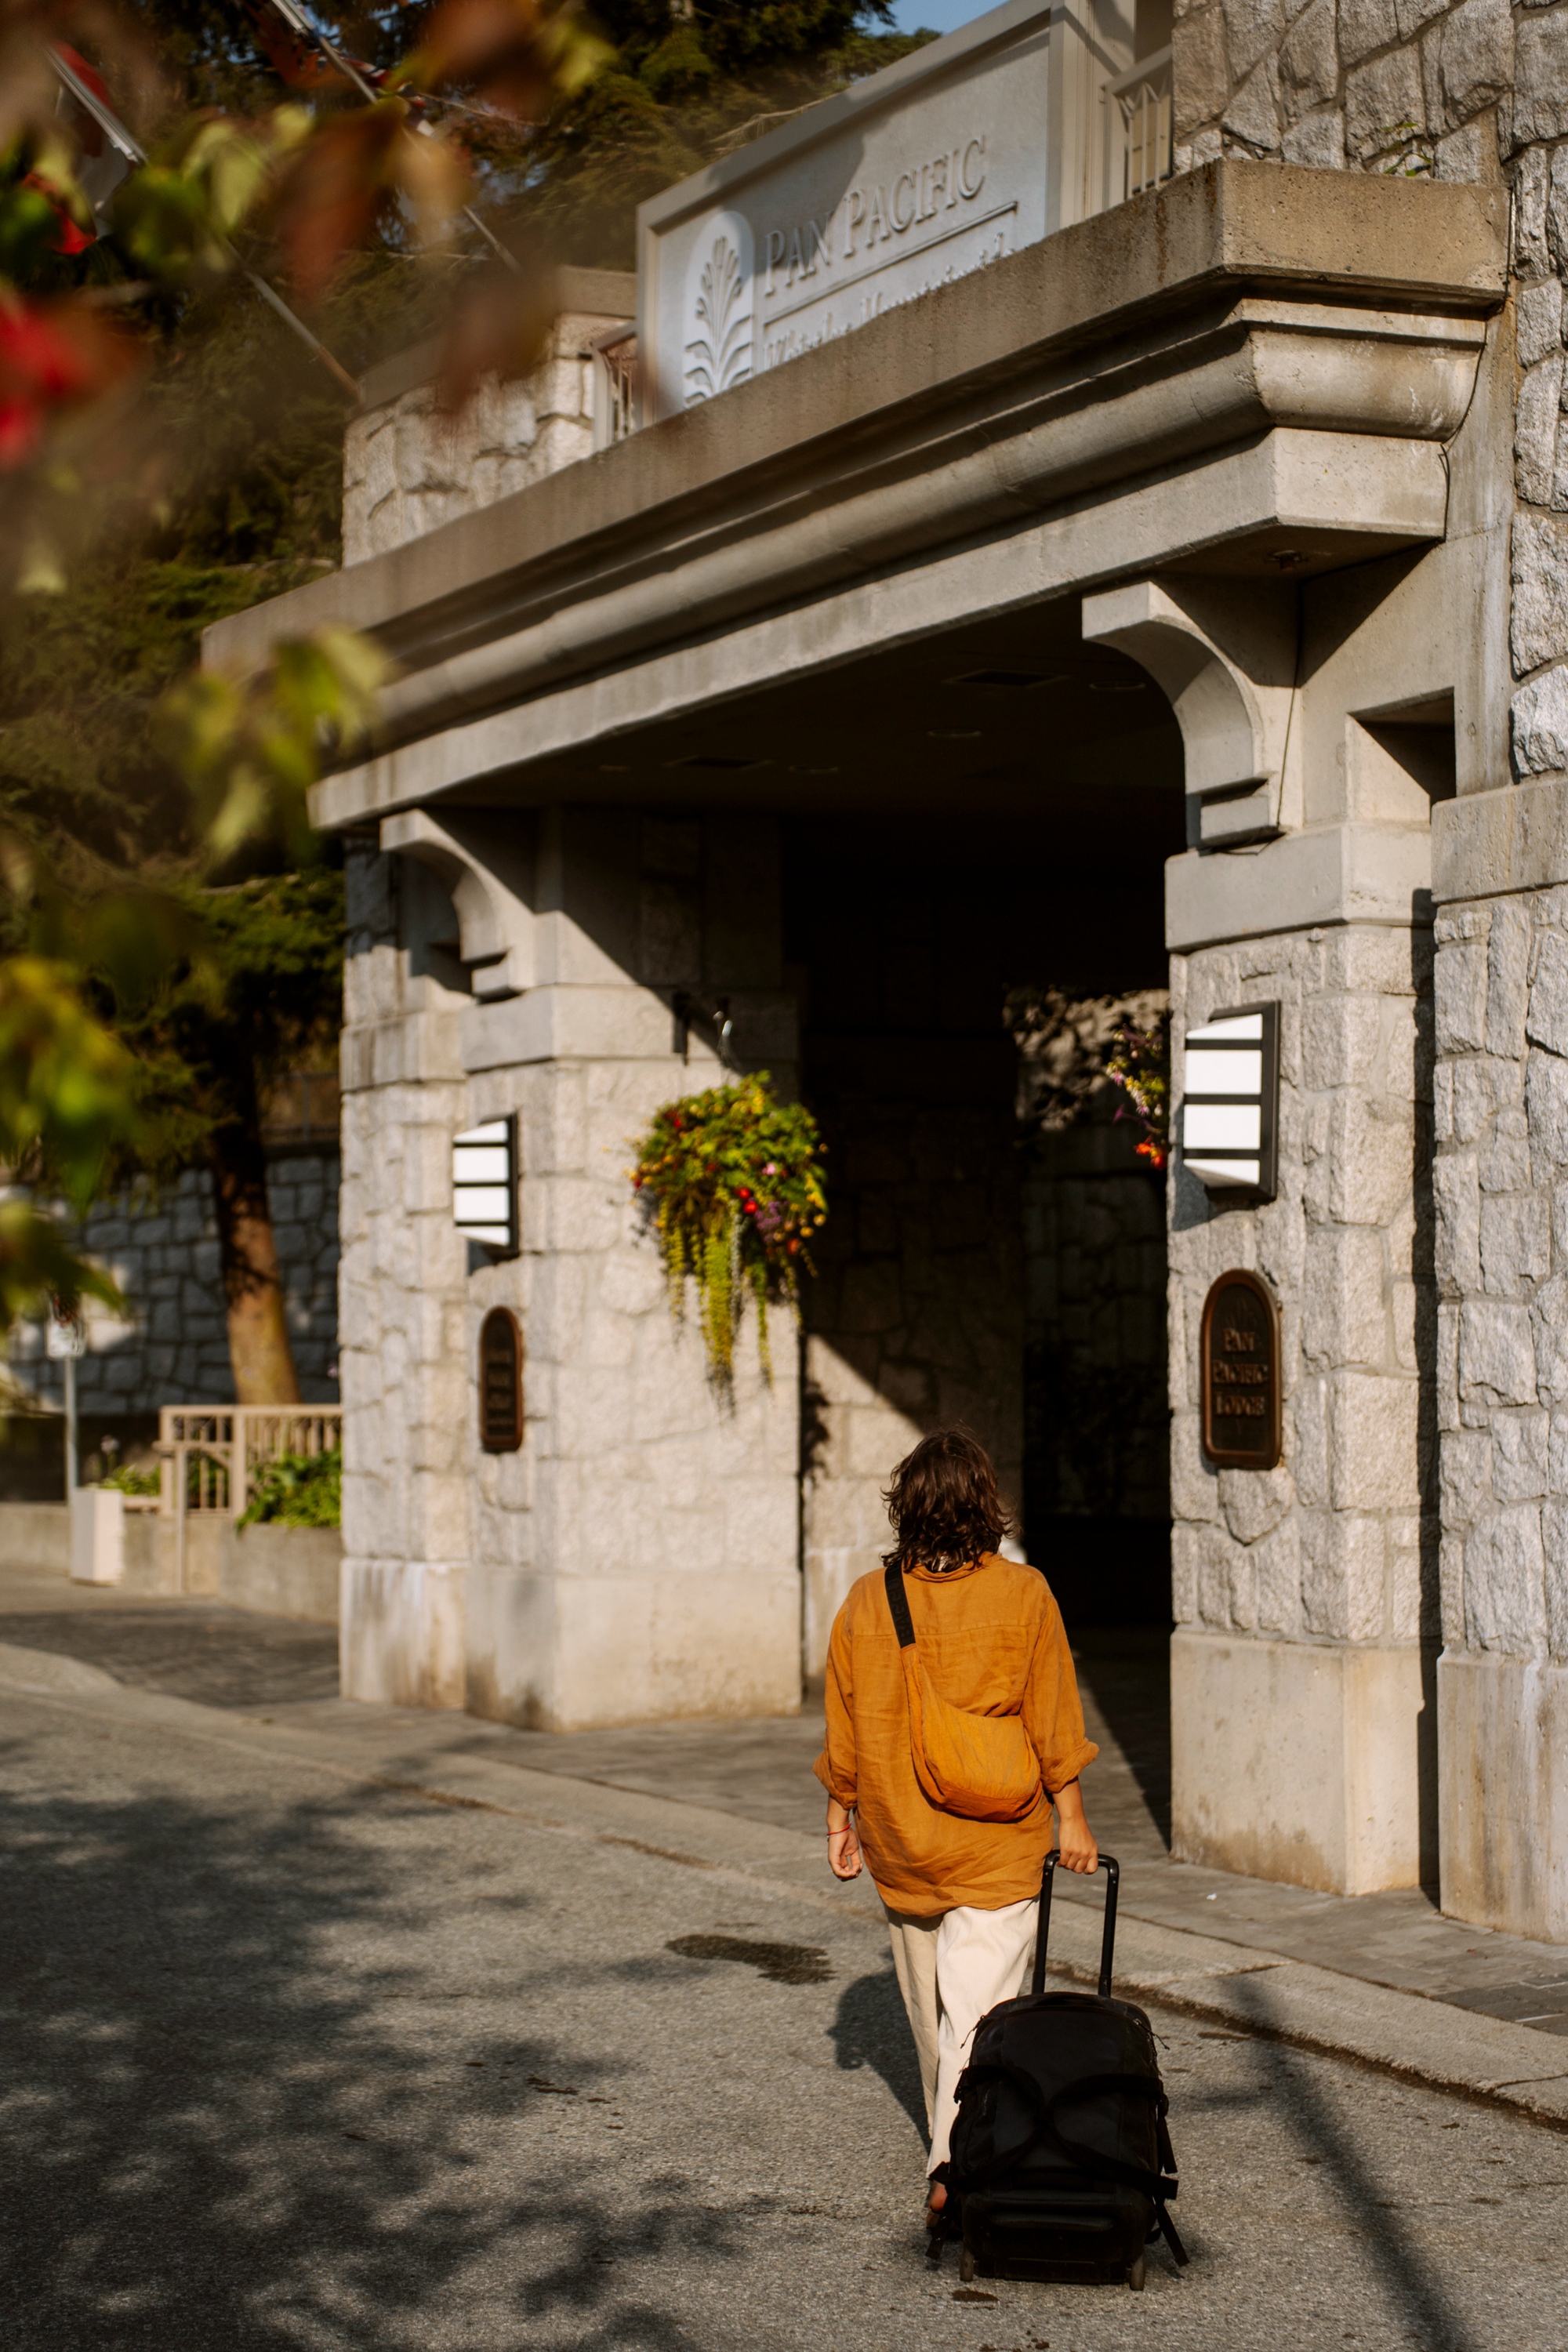
Where to Stay in Whistler
Click here for discounts and booking tips!Is The Overlord Trail Hard?


The Overlord trail is a long one, and it has enough elevation and uneven footing to take it out of the realm of walking and solidly into hiking territory. Doing the full Overlord Trail to Decker Tarn and the Lakeside Loop will take around 3-4 hours, depending on your pace and how long you stop at the lakes.
Making Sense of The Trail Map

There are a few common points of confusion with this trail map.
The Overlord Trail does not begin at the Rendezvous Lodge. To get to the Overlord Trailhead you will need to start on the Alpine Loop, which is a much easier, graded wide path that is the much shorter easier option for anyone not wanting to take on a full alpine mission. The Alpine Loop starts right from the Rendezvous lodge (it is the wide path climbing up the mountain past the Peak to Peak gondola). After about 15 minutes on that path there is a junction with large yellow signs that point to The Overlord Trail.
Some routes are intended to be one-way paths. Looking at the trailmap you can see that the alpine loop is meant to be done counter clockwise, the first section of the Overlord is 2-way, then where the trail splits next The Lakeside Loop is intended to be done clockwise and the second stretch of the Overlord Trail is meant to be return only, and then the third stretch of overlord is again 2-way, since no everyone is able to handle the Decker Loop.
This is a bit confusing, but the trail is quite narrow so it is a challenge to have 2 way traffic going through them. It's ideal if you follow the intended directions, but in full transparency I don't think it's really that big of a deal. I've done this trail several times and the first time I did it I went the wrong way, and every other time I've done it I've met dozens of groups coming along the wrong way at me.
This is a tourist trail and it's almost everyone's first time up here, so what's really more important is that you stick only to the main trail, leave no trace, and be respectful to all the other hikers.
I will say though that the views are far superior if you hike along the official traffic directions.
Which Route To Take

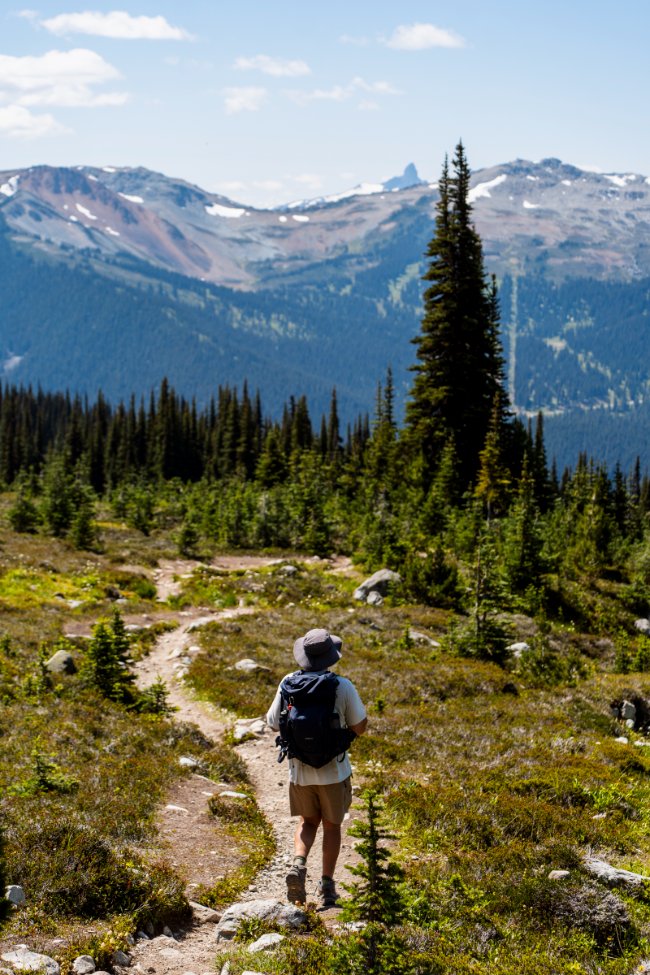
You have 4 main sections to consider:
- Alpine Loop. This is the easy connector trail, and you will need to hike this just to access the main Overlord Trail.
- Overlord Trail. This is the main trail that goes from the Alpine Loop all the way out to Decker Tarn. The two optional loops are accessed via this trail.
- Lakeside Loop. This trail turns off from Overlord and takes you up a bit higher into the alpine to Blackcomb Lake and then turns back down to reconnect with Overlord. I would NOT skip this loop. The stretch of trail heading up to Blackcomb Lake has some of the best views you can get on Blackcomb, and the lake itself is stunning.
- Decker Loop. This is another optional loop that turns off Overlord further down. It takes you high up onto an exposed ridge where you get great views of the alpine lakes below, before turning and descending back to join back up with Overlord at its terminus at Decker Tarn. This is a relatively short but quite challenging add-on. It is tough terrain and incredibly steep. The views are good, but I wouldn't call this a 'must do' as I would with the Lakeside Loop.
The best approach, in my opinion, is starting on the Alpine Loop, turning onto Overlord, turning off Overlord onto the Lakeside Loop (this section of trail offers some of the best views over to the glaciers and across to Whistler), then following Lakeside Loop up to Blackcomb Lake.
For me, Blackcomb Lake aka The Lakeside Bowl, is the main reason for doing this hike, and it is my go-to lunch spot. The lake itself is beautiful, and it sits picturesquely right below Blackcomb Peak. And just next to the lake is an exposed ridgeline where you get incredible views of Whistler Mountain across the valley and great views of Overlord Glacier, Cheakamus Glaciers, and Fitzsimmons Glacier.

Once you've had your lunch, caught your breath, and grabbed your photos, head down the rest of the Lakeside Loop trail to where it reconnects with Overlord.
Now you have the choice of taking the Overlord trail back to Rendezvous Lodge, or continuing on. If you want to make the most of your day pass and spend a bit more time in the alpine, continue on, but I will say that by this point you will have hit all the best trails and gotten the best views, so if you're feeling tired you don't need to have any FOMO.
If you do choose to continue, the Overlord trail continues through the alpine over to Decker Tarn, which is another alpine lake. Honestly, it's not nearly as impressive as Blackcomb Lake, but it is still pretty, and the views out to the glaciers from some of the big rocks next to the lake are insane.
You can get to Decker's Tarn via the Overlord Trail, or you can turn off and take the Decker's Loop, which is the far more challenging option that gives you bonus aerial views of the alpine lakes. Either option terminates at Decker's Tarn, and then the route back is simply following the Overlord Trail all the way back to Alpine Loop and then back down to the lodge.
The time required will vary a lot depending on which route you take, how long you pause at the lakes and the viewpoints, and your pace. If you do every trail section and take a long lunch break, you're looking at close to 5 hours round trip, but a speed run out to Blackcomb Lake and back could be closer to 2 hours if you're quick.
Below is a breakdown of the timing for each trail section, so you can estimate your timing based on the route you choose to build.
- Alpine Loop: 30 minutes for the full loop. 15 minutes to the point where it connects to Overlord.
- Overlord Trail: 1 hour 15 minutes each way.
- Lakeside Loop: 45 minutes.
- Decker Loop: 1 hour 15 minutes
Final Thoughts

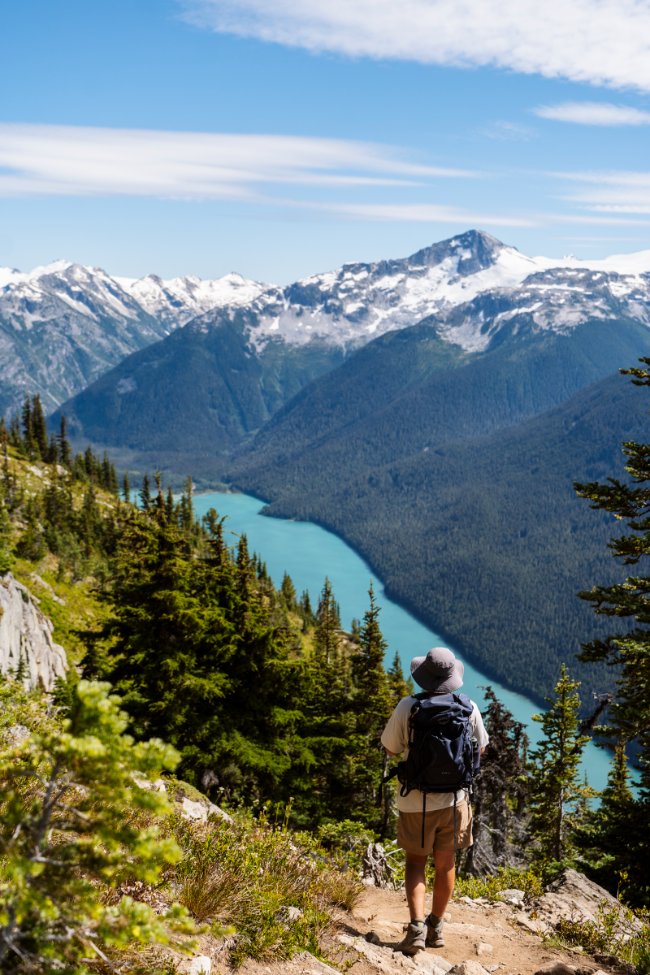
Overlord is a hike that makes the case for alpine hiking in general, big payoff, manageable effort, and none of the grinding climb from the valley floor that a lot of other routes demand. Whether you keep it simple with the out-and-back, push yourself on Decker Loop, or take the gentler Lakeside Loop option, you're coming home with photos of glaciers and alpine lakes that make it look like you worked a lot harder than you actually did.
If you're still deciding whether the sightseeing pass is worth it in the first place, check out our Is The Whistler Gondola Worth It guide, it breaks down everything else you can see and do once you're up there, on top of hikes like this one. And if Overlord has you wanting more, our full Whistler Blackcomb Alpine Hiking Guide covers every trail across both mountains, from the easy loops right up through the seriously challenging stuff, so you can start planning your next day up top.
FAQ
Where does the Overlord Trail start?
How hard is the Overlord Trail?
Should I do the Lakeside Loop or Decker Loop?
How long does the full Overlord Trail hike take?
What should I bring for the Overlord Trail?
Our Trusted Travel Partners
We only recommend products and services we personally use and trust.

SafetyWing
Travel medical insurance for nomads and remote workers
Booking.com
Find the best deals on hotels, apartments, and vacation rentals
AllTrails
Discover hiking trails with detailed maps and reviews
Surfshark
Secure VPN for safe browsing and accessing content worldwide
Get Your Guide
Find the best deals on tours and experiences
Airalo
Prepaid SIM cards for travelers
Trusted Housesitters
Find free accommodation by house and pet sitting worldwide
Wise
Send and receive money internationally with low fees* We may earn a commission when you make a purchase through our affiliate links, at no extra cost to you. We appreciate this support, which helps sustain our blog and allows us to create more content and help more great trips get planned!